Kids bored on a rainy day? Save these 4 cute and simple autumn crafts for kids to try!
As rainy days and gloomy weekends loom in our near future, we’re starting to panic a little about what on earth we’re going to do with the kids in the house during bad weather.
The summer days where we could send them outside where a host of activities awaited them are on gone and now that we have to leave them up to their own devices around the house, we’re more than a little worried about what they’ll get up to!

But more importantly, we don’t want them to end up back on screens for hours at time or else start bickering over whose turn it was to do whatever game they’ve all recently decided to be obsessed with.
We’re here to help with those long grey autumn afternoons with this list of easy and cute autumn crafts that will keep them occupied – and away form screen! – for hours at a time! Indulge their creative sides with these crafts that use easy-to-find tings that are all around your home and garden!
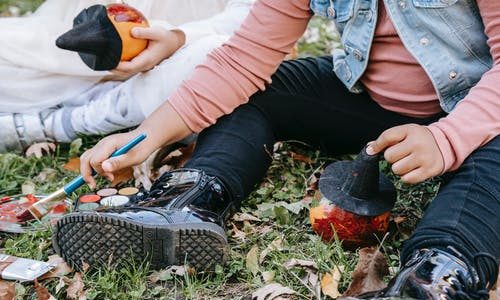
Handprint leaves
We’ll start with the easiest one for younger age groups first! You’ll need: Different colour paints, paintbrushes and paper.
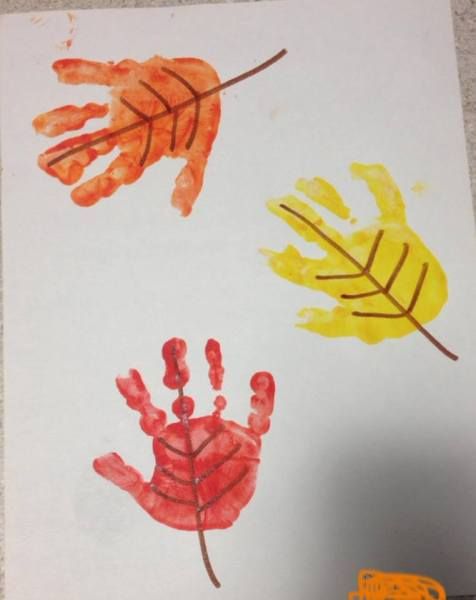
Lay out your sheet of paper in front of you.
Dip your paintbrush int your chosen paint colour and paint your non-dominant hand’s palm, being sure to coat it fully.
Press your palm to the paper to make a print.
Wash your hands and use the paintbrush and brown paint to make the leaf’s stem and veins. Try it with lots of different colours to make all the pretty autumn colours decorate your page!
Fall wreath
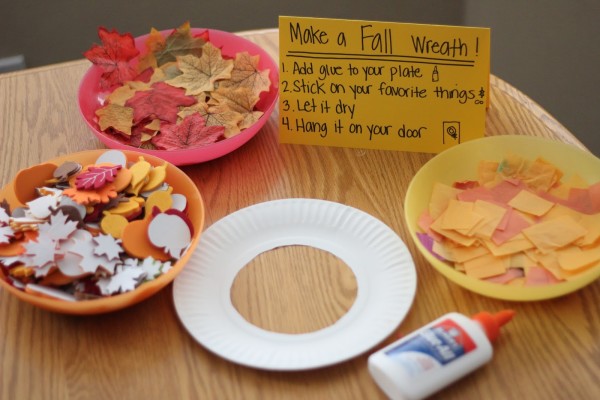
You’ll need adult supervision for this one as it requires cutting with a scissors! You’ll need: A scissors, colourful autumn leaves, glue and a paper plate.
Go out into your garden or local park and collect 12-15 big colourful autumn leaves.
When you come home, leave the leaves to dry if they aren’t already.
Meanwhile, Mum or Dad should either do the cutting themselves or supervise as the kids draw a circle around the inner ring of the paper plate (just inside the ridged area) and then cut along the line to make a ring shape.
Discard the inner circle and keep the outer ring. Cover the ring with glue and once your leaves are dry, paste them onto the ring to create a beautiful and colourful fall wreath!
Fall Fox Cutout
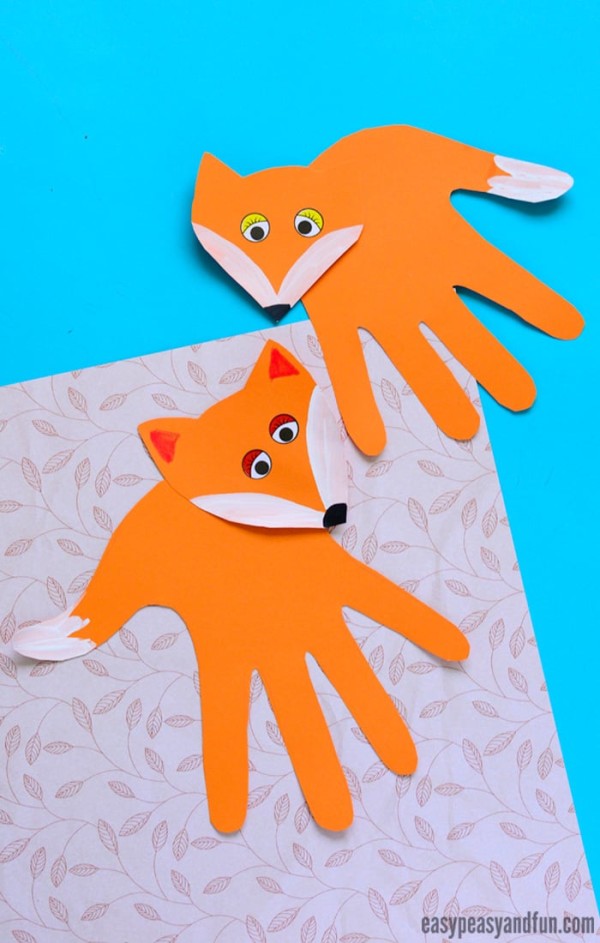
To make this adorable little fox, you won’t need much, but you will need adult supervision for using scissors again! All you’ll need is: White paint, a paintbrush, glue, a black marker, a scissors and orange paper.
Spread your fingers and place your hand to one side of the sheet of orange paper. Trace its outline.
Cut out around the line with Mum or Dad’s supervision and set the handprint aside.
Next, draw an inverted triangle shape on the orange paper and add two small triangles for ears on either end of the top flat line.
Cut out this shape and use your white paint to create the fox’s markings on either side of its face and at the tips of its tail on your handprint. Use the thumb part as the fox’s tail.
Once the paint dries, use the black marker to give the fox eyes, a nose and ear markings, before gluing the fox’s head onto its body at the tip of the palm, sp the downward facing fingers look like legs!
Pinecone Owls
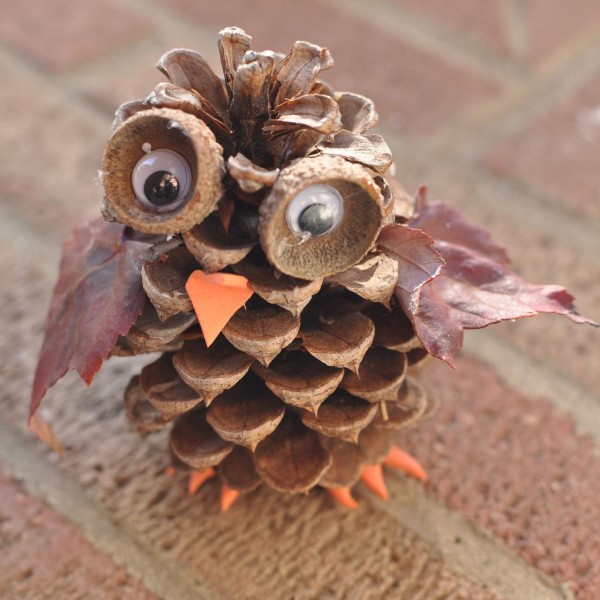
This one requires slightly more difficult to source material, but any local craftstore and nearby forest or park should have them! It's also probably more suited to slightly older children. You’ll need: A pinecone, a marker, orange felt, 2 small leaves, googly eyes, glue and acorn shells.
Firstly, go to your local wooded area and see what open pinecones you can fine, along with 2 fluttery leaves and 2 acorn shells.
Once you being those home, set them to one side and lay out your orange felt paper.
Using a marker, outline a small triangle to create the beak and two crescent shapes with one side smooth and the other side with three claws to make the owl’s taloned feet.
With Mum and Dad’s super vision, cut out all the shapes and set to one side.
Next, put a little glue into the cup of your two acorn shells and place the googly eyes inside, facing the eyes outward.
Then add a little glue about halfway down the pinecone on the right side and then again on the left. Attach the stem end of the two leaves you gathered, one to each side, to create the owl’s wings.
Next, add a little glue to higher up on the pinecone, around where you want their face to be and fix on your owl’s beak – the orange cut out. Then add your acorn-googly eyes above it to create the face!
Lastly, at the very bottom of the pinecone, directly below the face, glue on your orange claw cut outs, being sure to face the claws outwards so you can see his feet. And voila! He’s ready to go!